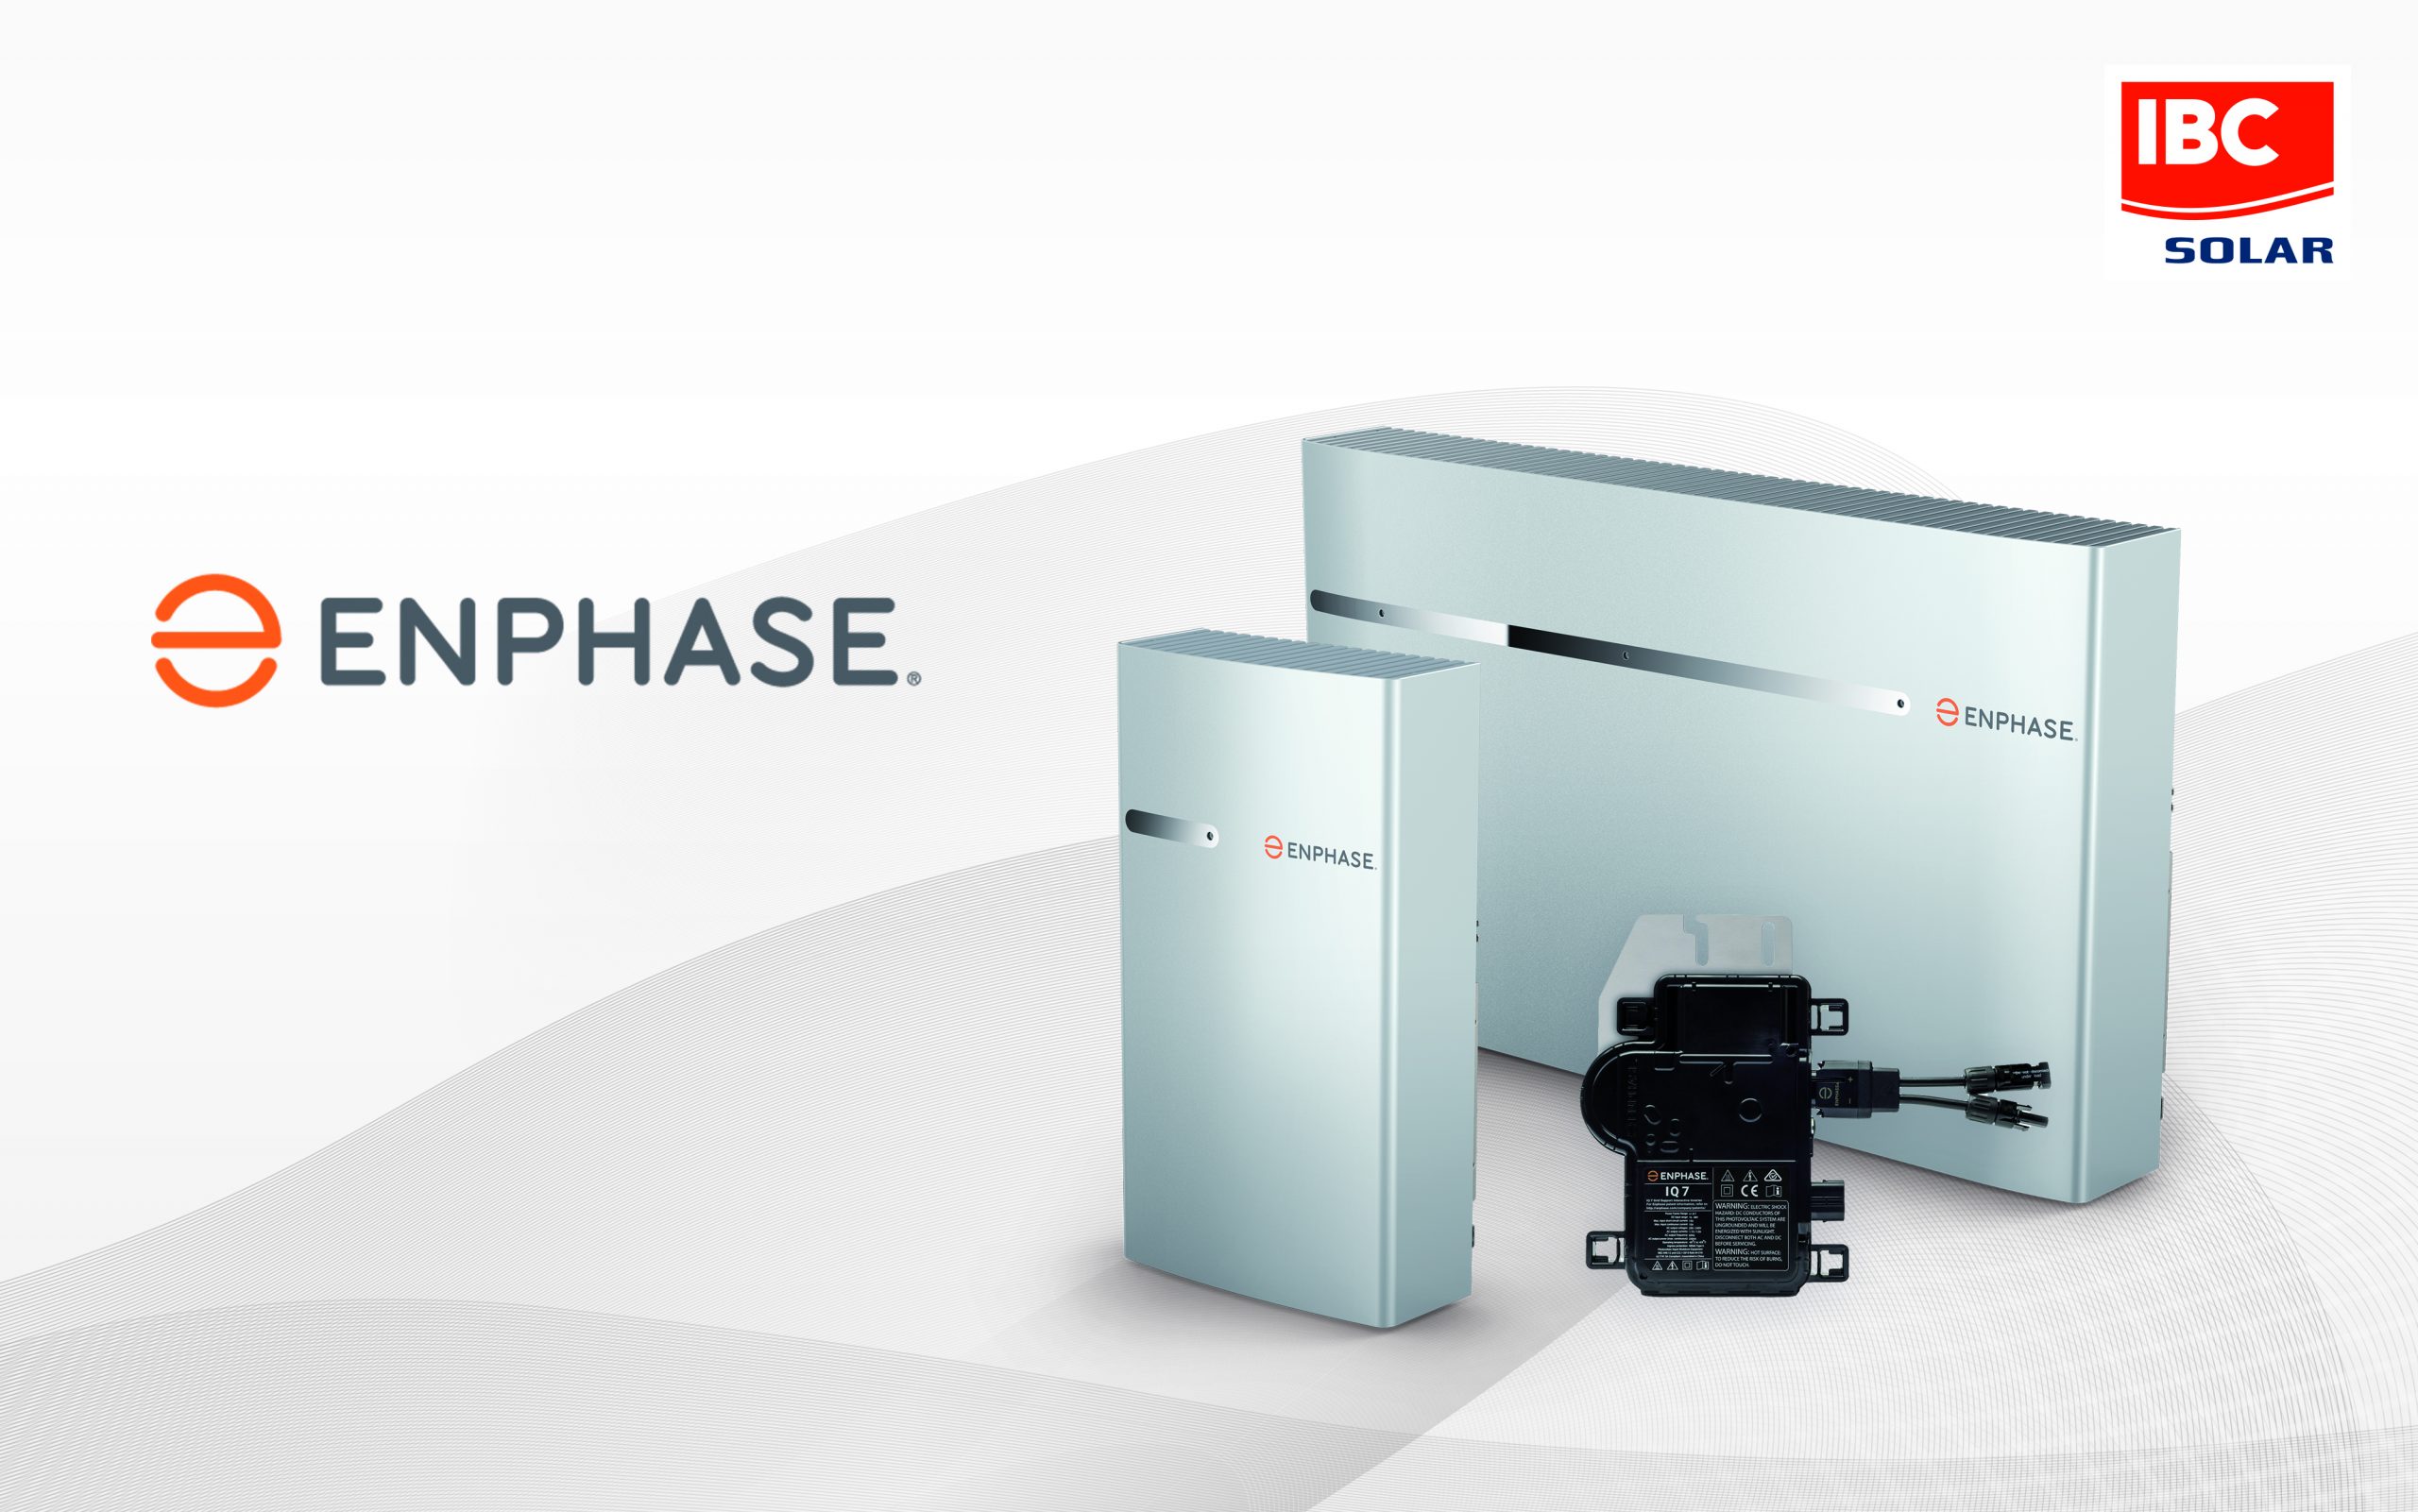
 Fast, simple and uncomplicated. All this applies to the Enphase system. In our first article “The Enphase System in the IBC SOLAR Test_Part I“, we told you all about the basics and the components installed in our Enphase test system. Because we wanted to find out what makes the system so special and how the setup, commissioning and operation of an Enphase PV system with the new Encharge storage system works. For this purpose, an IBC SOLAR colleague’s string system was converted to an Enphase system in a test setup, including the new Encharge storage. Now, in the second part of the blog series, we tell you about our experiences with the Enphase system with a view to installation and commissioning, followed by our conclusion.
The installation
Our colleague’s system has already been in operation for about eight years, so as a special feature the PV modules must first be dismantled again. After this the microinverters are screwed to the IBC TopFix 200 on the mounting rail with the IBC SOLAR universal connection element. The Q-Cable is prepared with the terminating plug, connected to the inverters and laid into the house to the sub-distribution. As soon as the inverters are mounted and wired, the PV modules can be mounted again.
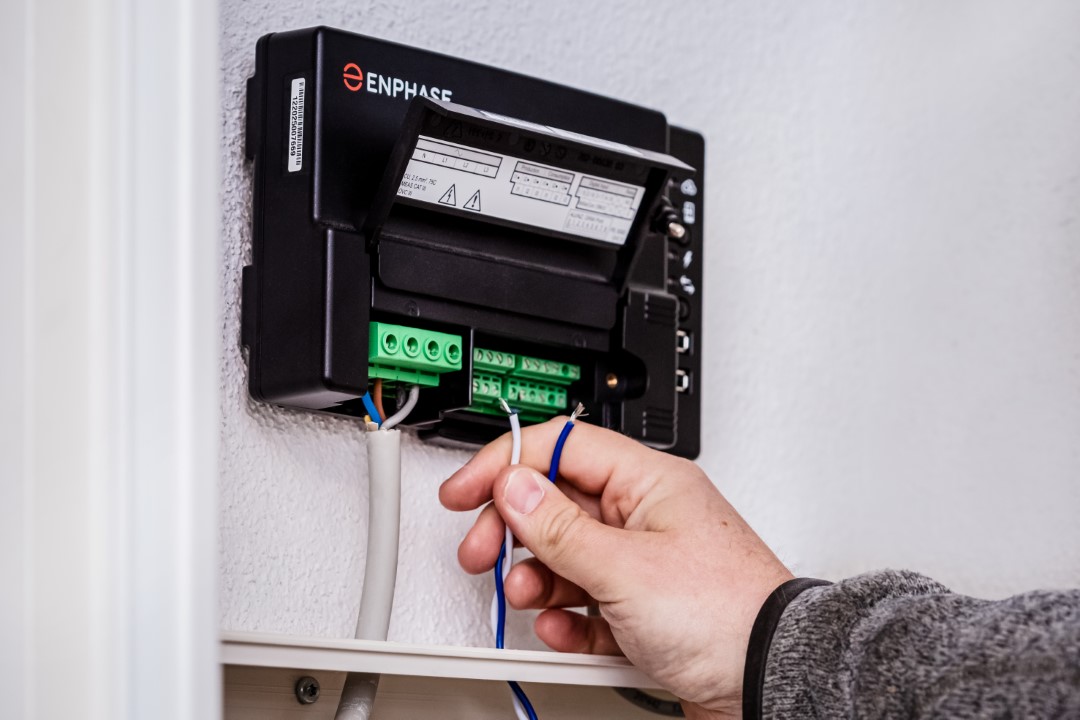
Parallel to the work on the roof, the sub-distribution is prepared:
- Installation and wiring of the necessary circuit breakers and RCDs.
- Installation and wiring of the Q relays and the Envoy
- Installation of the current transformers for the Envoy
The AC cable from the roof can then be connected to the Q-relay.
The installation of the storage tank is similarly simple:
- Mount the wall bracket (make sure the wall is flat and stable).
- Hang the battery modules in the wall bracket and fix them with a screw.
- AC-side connection of the battery modules to each other: Enphase supplies prepared cables here, which are then fixed using screw clamps.
- Drill the cable entry and install a screw gland, then connect the cable to the sub-distribution.
- Switch on the battery modules, then switch on the AC side.
- Slide on the cladding

The steps are intuitive and can be carried out without any problems. It should be noted, however, that due to the weight of the battery modules, two people are needed to hook the modules into the wall bracket. After the above steps, the system can now be commissioned.
The commissioning
The commissioning of an Enphase system is carried out with the “Enphase Installer Toolkit App“. This guides you very clearly through the installation process. Ideally, the system is even created in the Enlighten Cloud via PC before installation, so that only the following steps are necessary afterwards:
- Search for the devices (inverter via Powerline communication, battery via Zigbee).
- Creating the inverter arrays, whereby the serial numbers of the microinverters (stuck on the roof plan) must be scanned with the smartphone.
- Test the current measurement
- Determination of the grid profile
- If necessary, update the Envoy and inverters.
If no major update is necessary, these steps can be completed in about half an hour.

The Operation
Both the customer and the installer can conveniently monitor the operation of the system using their smartphone or a web browser. Compared to other systems, monitoring can be carried out at module level. The activity of the battery can also be conveniently checked.
For whom is Enphase the right system?
Enphase is the right system for end customers who want module-based monitoring with the best possible shading compensation and little space requirement. In addition, the system has a convincing 25-year warranty period.
Installers, on the other hand, benefit from simple system planning and stock-keeping. Although the Enphase storage system can only be installed by two people due to its weight, the system generally impresses with its fast and efficient installation. In addition, only a few different components are needed. And the IBC SOLAR colleague is also pleased with his modernised system:
“Finally there is room for a dryer next to the washing machine! You can already see that the system delivers a higher yield, since the garage is partially shaded depending on the time of day and the system generates electricity earlier and at the same time longer than with the old inverters. In addition, the 25-year warranty on the inverters and the 10-year warranty on the battery are important arguments in favour of the Enphase system,” he concludes.
Author: Thomas Lehnert, Product Manager Power Solutions